Saturday, May 28, 2011

How to Make a Concrete Butterfly: Part 2

The materials:


Like the materials list in Part 1, what you'll need for the second part is very simple and inexpensive: A cup of water, rubber gloves, sand and Portland cement. Optional is the Quikrete acrylic fortifier shown here. It improves the water resistance of the mortar, but plain water works too.

I mix my own mortar. If you wanted to buy pre-mixed, you would want a mortar mix, not a concrete mix. Concrete mix uses gravel aggregate which would be too lumpy for this technique.  You can also screen your sand and cement prior to mixing to get a really smooth finish.

My recipe for the mortar is:

1 part Portland cement
3 parts sand
1 part water (approx)
(or optionally, 1/2 part water, 1/2 part acrylic fortifier)

In the case of this butterfly, the "part" I'm using is a small pudding cup (shown).  For small projects like this, I do all my mixing by hand. It allows me to work out lumps and small rocks, and is simply easier than using a tool. Be sure to wear gloves, however, as the concrete is very hard on your hands.

Mix the sand and cement thoroughly before adding any liquid.  When you do add liquid, add it in small batches, working it in thoroughly before adding more.


Add liquid and knead until you've worked it into a sugar cookie dough consistency, shown below:


This may still be a bit dry as you work with it, but I prefer to have it on the dry side.  As I'm working the mortar into my wire armature, I dip my fingers in the water to add wetness as needed.

Work the mortar onto the body first.  When mortaring the body, you want to work the mortar into the armature to fill the center.  You want the mortar to go through the body and adhere to the rebar and antennae wires so that it is all solid when dried.


I've found that putting the rebar into a bucket of sand helps tremendously.  This allows you to move it around and position it where you need it at the moment.  Keep in mind that you'll be working the top and underside of this butterfly.  The sand helps hold the piece in place while you do that.  This particular bucket of sand is mixed with WD-40 because I use it to clean my garden tools.


Once the center is filled and shaped, shape pieces of mortar into patties and press them onto the wings.


Keep taking small handfulls of mortar and press them onto the wings, being careful not to let the mortar slip all the way through the armature.  Alternately, I dip my fingers in water to moisten the mortar and help shape it as I go.


Keep patting the concrete onto the wings until you've got them shaped and almost fully covered.  If you intend to apply a surface treatment, like mosaic, it's okay to have some of the wire armature exposed on the edges.  You can cut that off after the mortar has cured.


That being the case, you can also leave some of the wire exposed on the underside of the wings since it will end up covered with thinset and tile.  However, if you plan to paint the butterfly instead, you'll want to finish the underside of the wings the same as you finish the top, making sure all the wire is fully covered.


When done, I mist the entire piece with water then cover with a plastic bag.


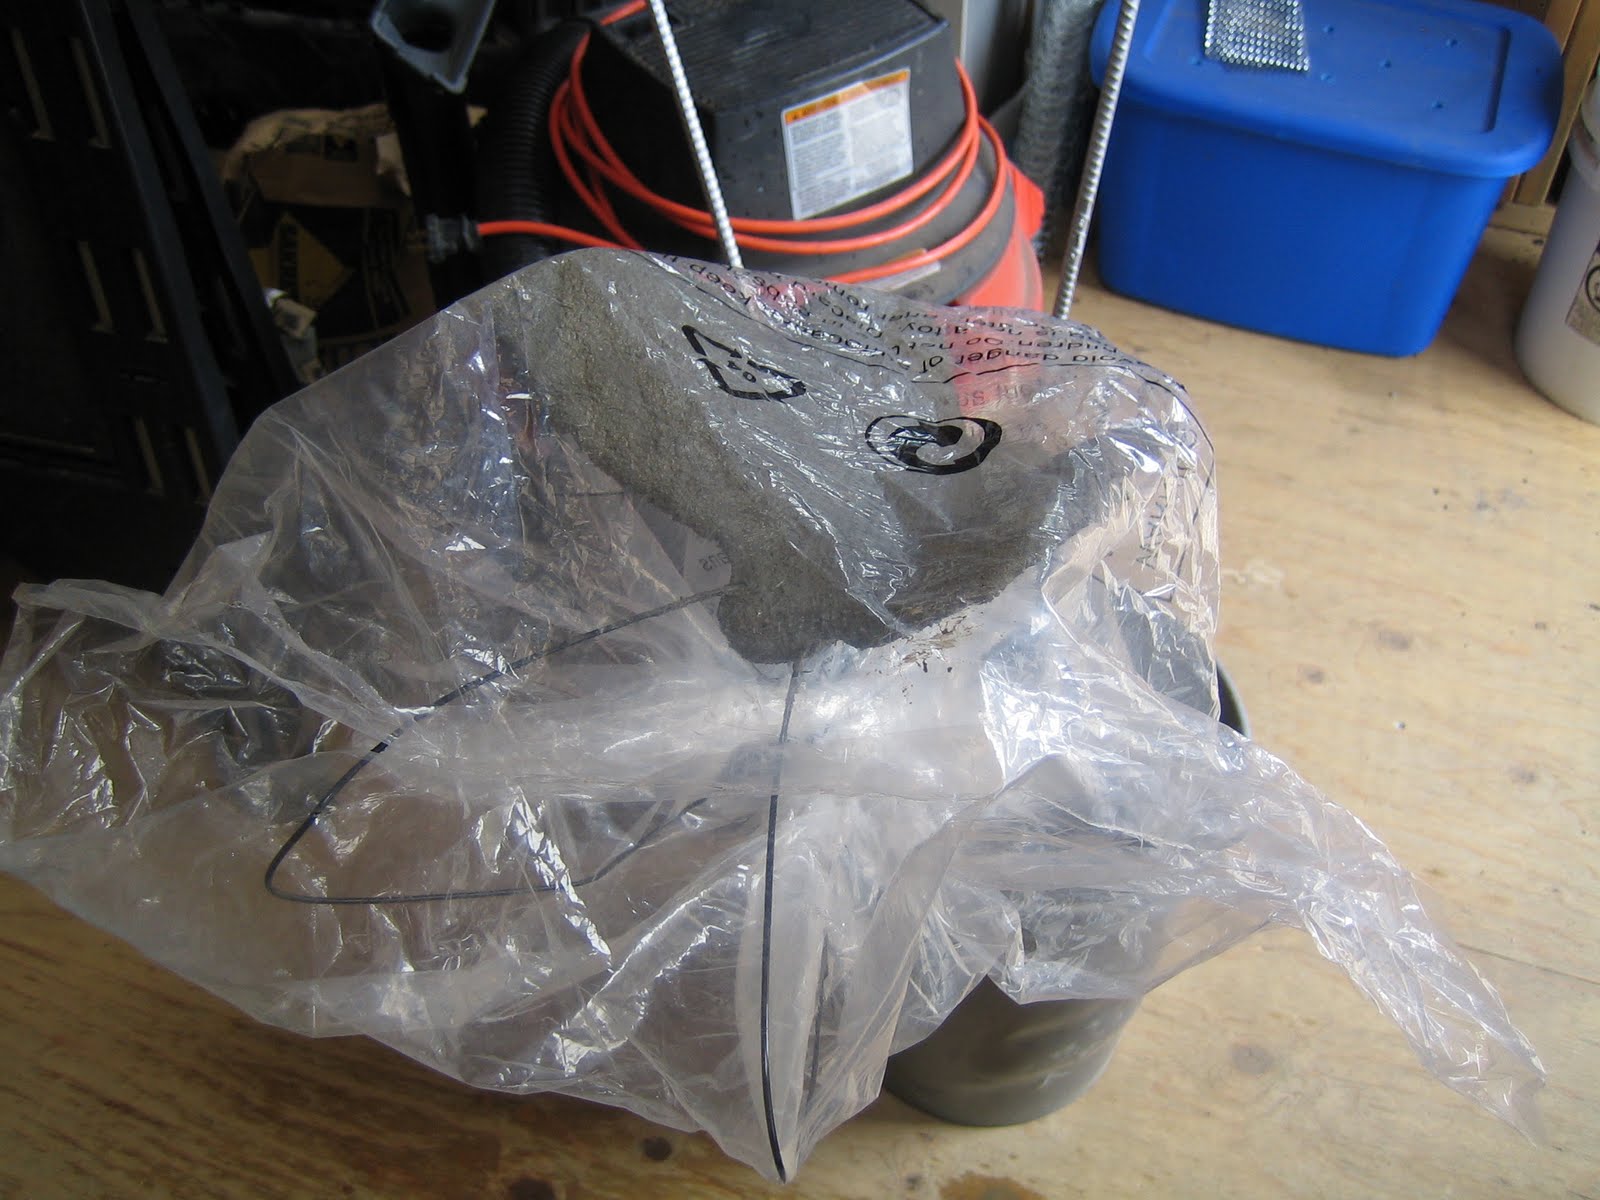
Keep covered and moist for at least two days. This prevents the mortar from curing too fast and cracking.


Once cured, I scrub the rebar clean then spray the rebar stake with Rustoleum spray paint.  This seals the rebar to prevent it from rusting, and gives it a nice finish.  For these, I chose a silver finish.

At this point, you can finish the butterfly however you'd like.  It could be painted or stained, or in my case, I'll be covering it with mosaic.  They should be weather resistant in any climate.

Tuesday, May 24, 2011

How to Make a Concrete Butterfly: Part 1

I've had some inquiries as to how I made the concrete butterflies. I'm happy to share my process. Besides, it gave me a perfect excuse to make one more!

Here's a photo of the pieces needed to make the butterfly. (You can click on these photos to see them larger)


I make 4 wings out of hardware cloth. Because I'm making 4 of them and I need them to be identical, I started by creating a paper pattern. I traced the pattern onto the hardware cloth using a thick black marker then cut out the wings with tin snips.  In this example, I'm using a combination of hardware cloth and diamond lath.  Personally, I found it easier to work with hardware cloth alone.  If you do, you'll want to make sure when you cut out the 4 wings that you turn that pattern 45 degrees for two of them so that when you stick them together, the squares in the hardware cloth with criss-cross.  (I'll explain further below).

Also needed is a strip of hardware cloth that will be used to make the body, two strips of wire that will be the antennae, and a piece of rebar for the stake.

I bent the end of the rebar by simply putting my foot on one end and pulling on it.  I'm using #3 rebar, so it's relatively easy to bend by hand.


The reason you cut 4 wings is because you want to end up with a good mesh for the mortar to adhere to. 


The mortar will more easily fall through a single layer of hardware cloth, so to create a more solid mesh, I take two of my wings and "sew" them together using wire.  As I mentioned above, in this photo I'm using a combination of hardware cloth and diamond lath.  In retrospect, it was easier to work with just hardware cloth, so when you cut out two of your wings, turn the pattern to a 45 degree angle so the squares in the cloth cris-cross.

To make the body, coil your strip of harware cloth around the rebar, using wire to secure it in place and pinching the top to form a rounded head.


Next, slip your antennae into the "head", using wire to secure them to the cloth.  I make a small loop at the end of the antennae wire that I thread wire through.  They don't need to be terribly sturdy as the mortar will help keep them in place.  You just want to make sure you can't pull them straight out.

Attach the wings to the body using wire.


You've now got a metal butterfly on a stick that can be mortared.  One lesson I learned when making the first two is that the wings will get weighted down by the mortar.  I wanted my butterfly to be shaped as if it were fluttering around.  However, when I applied the mortar on the first two, the weight pulled the wings down a bit more than I would have liked.  The wonderful artists over on the GardenWeb forum suggested stringing a piece of wire across the top of the two wings to hold them in place.  Once the wings have mortared and dried, snip the wire.  I intend to try that with this one, as I'd like to hold this shape I've created:


In the next post, I'll show you my process for mortaring the butterfly. After mortaring, you could either paint it using craft paints or apply a mosaic finish, which is what I intend to do.

The fun of making these concrete armature sculptures is that they're weather resistant. Wood will deteriorate over time, and metal requires welding. I came across this method of creating outdoor artwork because I can be a relative novice with tools and the materials are very inexpensive.

Stay tuned for the next installment which will be coming to you in a couple days!

Seeds Have Sprung

Last weekend, I planted out the rest of my summer garden. In went carrots, squash, cucumber, pole beans and some morning glory. Today I'm starting to see signs of life.

The morning glory is going to explode along this lattice:

My pole beans have opened up strong. This is a brand from Johnny's called "Fortex":

And my three types of squash have emerged. I planted two types of zucchini, Costa Romanesco and Plato. I also planted a butternut:

Still not showing signs of life are my carrots and cucumber. I wasn't expecting the carrots soon. They tend to take a while. I would expect the cucumber to come up any moment now.

Fun to have it all in!

Sunday, May 22, 2011

Butterflies

I really do intend to FINISH a project one of these days.  But in the meantime, I've started some butterflies.


These are about the quickest thing I've made so far, but they still take time.  Next step will be to mosaic them once the concrete has set.